A step by step guide to building the ultimate charcuterie board.

Charcuterie boards are one of my favorite appetizers, and sometimes even meals. They can be so versatile and customizable to fit any and every person/event/theme. Putting together a charcuterie board can be so fun but also overwhelming – there are so many different ways you can go with it! Whether it’s a breakfast board with salmon, cheese spreads, and bagels or a classic board with cheese, salami, and crackers: have fun with it!
My absolute favorite thing about charcuterie boards is how quick and easy they can be thrown together for that last minute girls night in or fancy dinner party. Plus, it helps when you can go to just one grocery store to pick up everything you need. For me, that was Trader Joe’s. Basically everything I used to put this board together was bought form Trader Joe’s!
Many times I find myself having a hard time using Trader Joe’s as my one stop shop for groceries. That is except when it comes to charcuterie boards. I love to shop at TJ’s for my charcuterie board needs because they have awesome prosciutto at such a great price! They also have my favorite rosemary Italian crackers and sharp cheddar cheese sticks.

for serving
-
Board: You can either use a wooden board or a stone board. Some great places to find wooden boards include Crate and Barrel (long), Target (rustic)/ Target (round), and HomeGoods! As for stone boards, I had mine made from remnant slabs at our stone shop. I also really love this Anthropology one with gold accents.
-
Small Bowls: I love to include jam and honey on my board so having small bowls for any type of liquid (and even olives or tomatoes) helps keep things clean and contained. Plus, it’s a great way of adding different textures or colors depending on the theme of your board. Typically, I like to stick to a cohesive look so I either use all white bowls/ramekins or any cute jars I have around the house.
-
Cheese Knives & Spoons : These will act as the perfect finishing touch by adding both functionality and style. I found my cheese knives at at HomeGoods for $10 but I also LOVE these gold and rattan ones and these simple and sleek ones. As for spoons, you can either use the small spoons from your everyday set or be on the look out for cute/dainty ones next time you go thrifting! Lastly, I like to use a honey dipper if I include honey on the board. Mine came with my honey jar from Crate&Barrel.

Steps

CHEESE
2-3 types – one soft, one hard, one creamy
I used: Brie, Dubliner Irish, and Sharp Cheddar
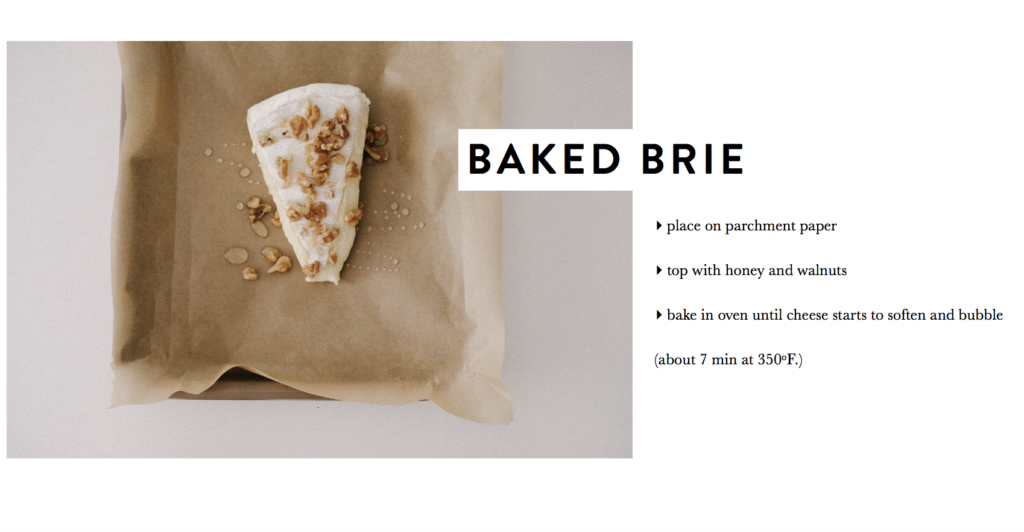
(baked brie recipe at bottom)

MEATS
2 types
I used: salami and prosciutto

SPREADS
1-2 spreads that pair well with the cheese of your choosing
My favorite: raspberry preserve and honey

CRACKERS/BREAD
2-3 types
I used: rosemary Italian cracker, cheddar cheese sticks, and a ciabatta baguette

FRUITS
2 of your favorite fruit that pair well with cheese
My favorite: grapes and sliced pear
(you can also include veggies like tomatoes or cucumbers)

NUTS & DRIED FRUIT
1 handful of your favorite nuts, 1 handful of your favorite dried fruit
My favorite: marcona almonds and dried apricots

SOMETHING PICKLED
1 handful of your favorite pickles or olives (or even pickled onions – recipe)
I love to use: kalamata olives


